AnalogClock view displays an analog clock. Populate the main.xml file with the following element:<?xml version="1.0" encoding="utf-8"?> <LinearLayout xmlns:android="http://schemas.android.com/apk/res/android" android:orientation="vertical" android:layout_width="fill_parent" android:layout_height="fill_parent" > <AnalogClock android:id="@+id/clock1" android:layout_width="wrap_content" android:layout_height="wrap_content" /> </LinearLayout>
ViewsActivity.java file, ensure that the main.xml file is loaded as the UI for the activity:package net.learn2develop.AndroidViews; import android.app.Activity; import android.os.Bundle; public class ViewsActivity extends Activity { /** Called when the activity is first created. */ @Override public void onCreate(Bundle savedInstanceState) { super.onCreate(savedInstanceState); setContentView(R.layout.main); } }
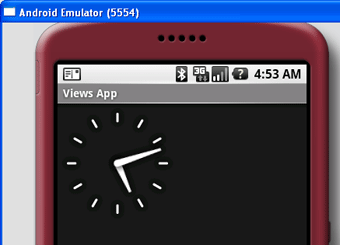
Figure 6 - The AnalogClock in action
DigitalClock view. Add the DigitalClock element to
main.xml as shown below:<?xml version="1.0" encoding="utf-8"?> <LinearLayout xmlns:android="http://schemas.android.com/apk/res/android" android:orientation="vertical" android:layout_width="fill_parent" android:layout_height="fill_parent" > <AnalogClock android:id="@+id/clock1" android:layout_width="wrap_content" android:layout_height="wrap_content" /> <DigitalClock android:id="@+id/clock2" android:layout_width="wrap_content" android:layout_height="wrap_content" /> </LinearLayout>
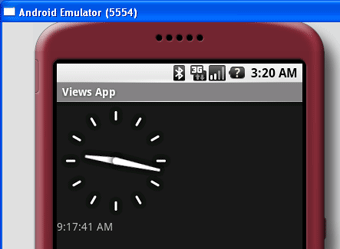
Figure 7 - The DigitalClock in action